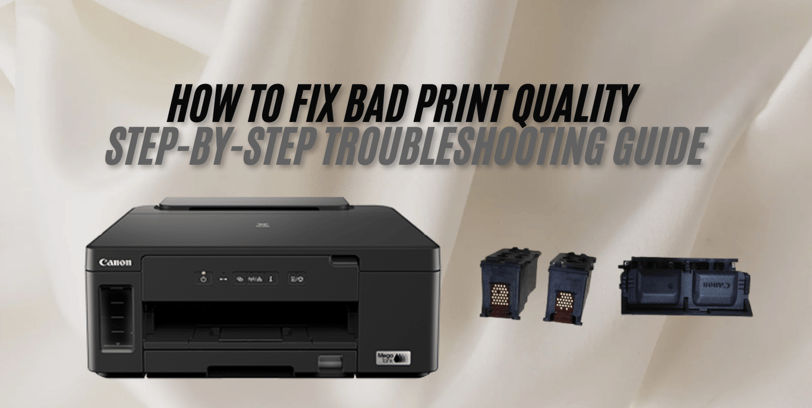
How to Fix Bad Print Quality | Step-by-Step Troubleshooting Guide
Struggling with bad prints quality? Discover practical tips and solutions to troubleshoot printing issues, clean print heads, and maintain your printer for top-quality results.
Praveen Kumar - Canon Printer Specialist
12/14/20244 min read
Ever printed an important document only to find the text is faint or the colours come out all patchy? It’s so frustrating – especially when you’re short on time. Whether you’re printing at home or in the office, poor print quality can ruin your whole day.
But don’t worry – you’re not alone and in most cases the solution is simpler than you think.
In this guide we’ll walk you through a step by step approach to troubleshoot and fix common print quality issues. From basic checks to deep cleaning and alignment tips you’ll learn how to get your printer back to producing crisp clean documents in no time.
1. Start With the Basics: Quick Checks
Before you dive into more technical fixes it’s best to tick off a few simple checks. You might be surprised how often the problem lies here:
✅ Check Your Paper Type and Settings
Paper Matters: Are you using the right paper? Thin or low quality paper can absorb ink unevenly and cause smudges and faded text.
Settings Match: Make sure your printer settings match the paper you’re using (e.g. glossy, plain, photo). You can find this in the printer driver or app settings.
✅ Check Ink or Toner Levels
Low Ink Alert: Check the ink or toner levels even if there’s no warning. Sometimes it won’t alert you until it’s almost empty.
Genuine Products: Always use genuine ink cartridges or toner. Cheap substitutes may not perform well and can even damage the print head.
✅ Review Print Settings
Quality Mode: Is your printer set to “Draft” or “Economy” mode? These settings use less ink but can make prints look washed out. Change to “Standard” or “High Quality” mode.
Colour Settings: Make sure it’s not accidentally set to monochrome or greyscale when you want colour output.
✅ Print a Test Page
Print a test page directly from your printer’s menu or through the software on your computer. This will help you determine if the issue is with a specific file or with the printer itself.
2. Nozzle Check and Print Head Maintenance
If the basics didn’t work, the problem might be a clogged nozzle or dirty print head. Here’s what to do:
🖨️ Nozzle Check
This prints a diagnostic pattern to see if the ink is flowing.
Missing lines or gaps means a blocked nozzle.
🔧 Clean Print Head
Use the printer’s built-in cleaning function via the maintenance menu.
If the problem persists, try a Deep Clean (note: this uses more ink).
Don’t do multiple deep cleans in a row — it’ll drain your ink.
🧼 Manual Cleaning (if needed)
If your model allows it:
Turn off the printer and unplug it.
Remove the print head gently following the manual.
Use a lint-free cloth and distilled water or cleaning solution to clean the nozzles. Don’t touch them directly.
🔁 Recheck and Repeat
After cleaning, run another nozzle check to see if the issue is fixed. If not, repeat the process once more — or consider a new print head if the problem persists.
3. Clean Print Head Properly
Let’s dive deeper into print head cleaning if you see streaks, faded lines or gaps in your prints.
🧠 Why
Over time ink dries up in the nozzles or dust settles on the print head if the printer isn’t used regularly.
🔄 Automatic Print Head Cleaning
Go to your printer’s Maintenance or Tools menu.
Select Clean Print Head.
Follow the on-screen instructions and let it complete.
Print a test page.
🖐️ Manual Cleaning Steps
If the auto clean doesn’t work:
Turn off and unplug the printer.
Remove the cartridges and the print head.
Wipe the print head gently with a soft cloth dampened with water or cleaning solution.
Let it dry completely before reinstalling.
🛡️ Preventative Tips
Use the printer at least once a week to keep ink flowing.
Always shut it down using the power button — this parks the print head properly.
Store it in a dry, dust-free space.

4. Align the Print Head
Misaligned print heads can cause jagged text or colour lines that don’t quite line up. Here’s how to fix it:
📏 When To Align?
After changing cartridges
After installing a new print head
When prints look misaligned or blurry
⚙️ Automatic Alignment
Go to Maintenance.
Select Print Head Alignment.
The printer will print a pattern – place it on the scanner bed as instructed to complete the process.
✍️ Manual Alignment (if required)
Print an alignment sheet.
Find the best aligned boxes or lines.
Enter the matching numbers in your printer’s settings.
5. Fix Other Common Print Quality Issues
Some problems persist even after cleaning and alignment. Let’s look at a few more common culprits:
💧 Smudges or Streaks?
Clean the paper rollers with a slightly damp lint-free cloth.
Make sure there’s no paper debris inside.
📉 Faded Colours or Low Contrast?
Increase the print quality in settings.
Use original ink for better colour.
Calibrate your printer via settings.
🧾 Distorted or Skewed Prints?
Re-align the print head.
Make sure the paper is loaded properly and not crumpled.
If lines are wavy, it might be a hardware issue – contact support.
🚫 Recurring Problems?
Keep your printer firmware up to date.
Do regular maintenance.
Don’t leave your printer idle for long periods.
✅ Conclusion: Keep Your Printer Happy
Bad print quality doesn’t mean your printer is dying. Most of the time, a bit of TLC and some basic troubleshooting can make a big difference.
So:
Start with the basics: paper, ink, settings.
Run nozzle checks and clean the print head regularly.
Align the print head for crisp results.
Tackle smudges, fading and distortions step by step.
By following this you’ll save time, money and frustration — and your prints will always look great.
Insights
Explore the latest in printer technology and tips.
Resources
Support
contact@bestprintershop.com
+918920029543
© 2024 BestPrinterShop . All rights reserved.